10 Tips to Get Your Garage Organised
Clear out the chaos of your garage with these simple tips, and turn that unused space into an asset for your home and lifestyle!
There’s no better time than summer to get outside and organise your garage. Yes, it’s a big job, but it doesn’t have to be overwhelming. By following these simple steps, you can de clutter and organise the space to make it work perfectly for you.
1. Decide on its function
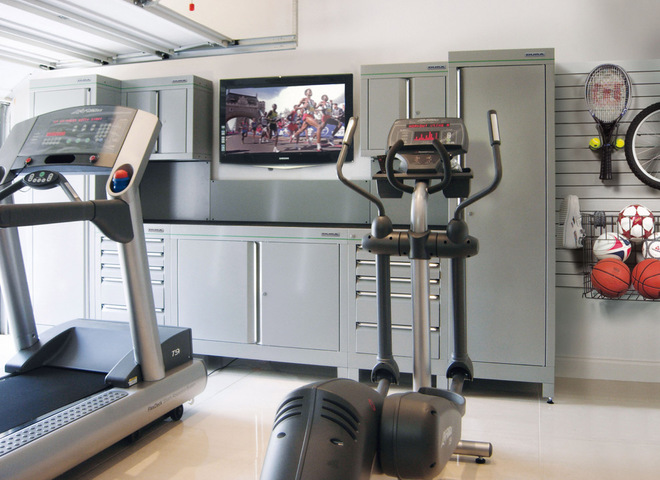
The first step is to work out what you need your garage for. Is it to store overflow from your home, or to house the car, motorcycle and bikes? Perhaps you want a place for gardening and DIY equipment, or maybe you’re planning to turn it into a gym or home office?
It’s important to clearly define how you’re going to use the garage, so you can organise it for these functions. You can then allocate space for each category of objects, and you’ll end up with an organised space where everything has its own section.
2. Make some room
Start by clearing some floor space. Move items on the floor right over into the corners. You need room to move around in order to pull items out and sort through them.
Not only does a clear floor give you room to manoeuvre, it also lets the space breathe. Even though all you’ve done is push items to the walls and corners, the feeling of space is good for your head.
Now it’s time to declutter. Take one wall at a time and slowly move around the room. Pull items into your free floor space, put things you don’t want into bin bags or in a pile to recycle, and place items you do want to keep to one side.As you go around the garage, the messy side will start to reduce, the clean side will have items you want to keep and the recycling pile will hopefully be filling up by the minute!
3. Start organising
By examining the items you’re keeping, you’ll see similarities emerge. Group objects into categories, such as gardening and DIY equipment, or sports gear and toys. Assign each category to a different section of the garage. Always begin with your priority items and get those in place first. Then you can add in everything else as space allows. As you do this, start to think about the type of storage you might need.

4. Work the walls
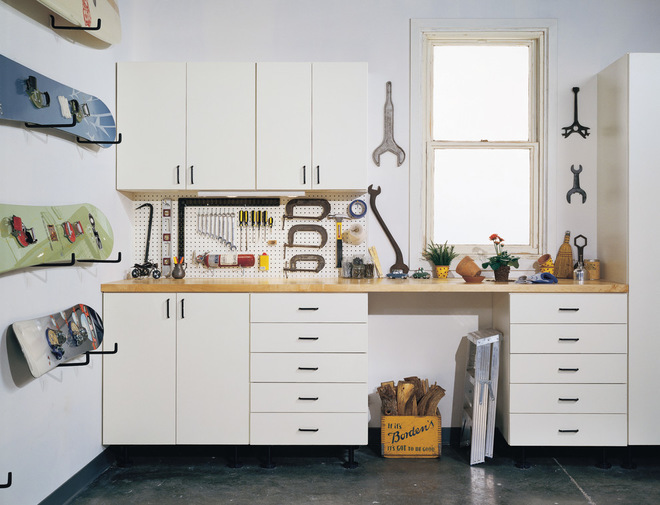
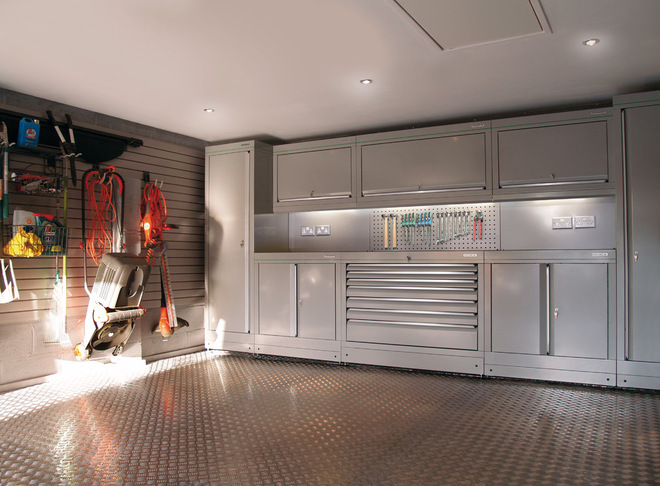
As you organise the new space, storage will start to play a part. You can now work out what you need, for example extra shelving, some hooks or a work bench. Tiny DIY items, for instance, require small containers or jars.
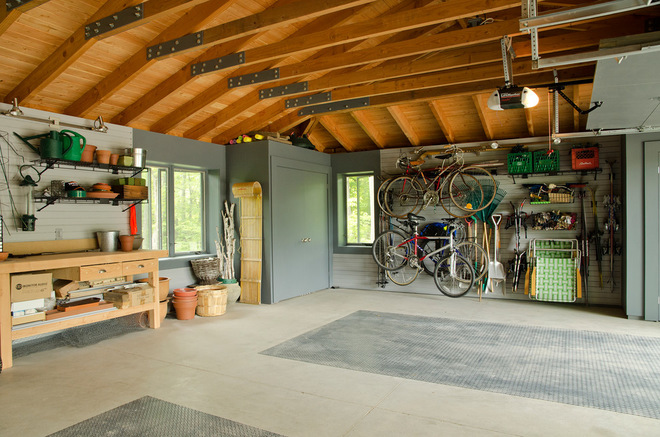
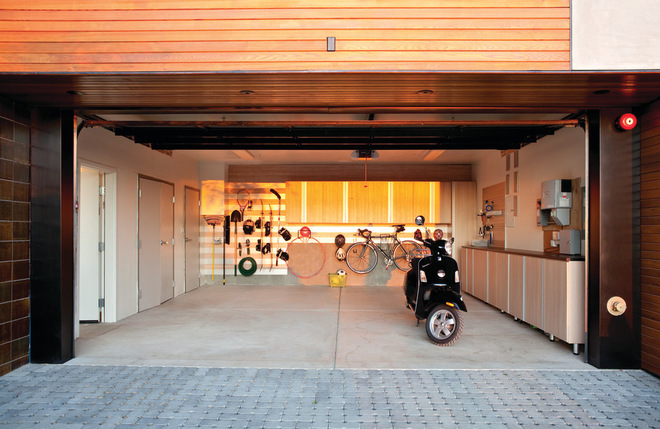
Try to keep items off the floor as much as possible and make full use of the walls. Install good storage around the walls and even at the back of the garage door. There are many wall storage solutions available, including wall-mounted drawers and lockers, as well as slatted racks that can be fitted with baskets, hooks and shelves. It’s a good idea to hunt online or visit a hardware store to see what’s on offer.
5. Don’t forget the ceiling
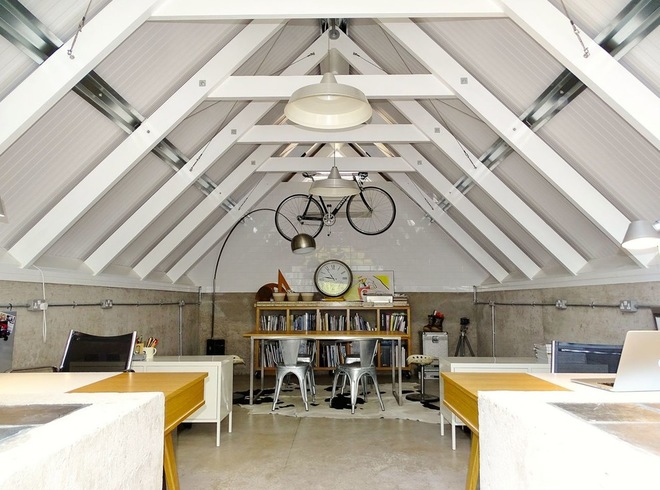
Storing items up near the ceiling clears the floor and gives you even more space in your garage. There are many ceiling storage solutions on the market that will keep bicycles, storage boxes and even surfboards above your head.
Some of these products consist of specific hooks, while others make use of a pulley system to get items down with ease.
6. Keep the floor clear
Your garage houses many things, a lot of which will be quite awkward and bulky. In order for the organisation to stay in place, you need to be able to move items in and out easily. If you can’t do this, clutter comes back. This is why keeping the floor clear is such a priority.
As well as making way for your car and it being more aesthetically pleasing, a clear floor is also important for health and safety. If you’re trying to pull out the lawnmower, or take a bicycle off a hook, you need to be able to do so with ease. Having clear floor space allows you to move items out of the way, and get to everything safely. It also gives you a landing spot for the items you’re pulling out.
7. Incorporate good lighting
I find one of the biggest obstacles to being organised is a lack of good lighting. If you can’t see what you’re doing, you’ll have a hard job being tidy. This is not just true in the garage, it also applies to the attic, under the stairs and even deep kitchen cupboards.
Lighting can be a huge investment, but if this is the route you’re happy to take, then an expert should be consulted. However, for nooks and crannies in older garages, or underneath shelving, simple, battery-operated on/off push lights are an inexpensive option that do the job. At a work bench or potting station, a simple desk lamp can also be very useful.
Finally, motion-sensor lighting outside the garage will provide security and be practical on a winter evening if you have to venture outside.
8. Add a coat of paint
After all this work, a fresh coat of paint on the garage door can really add a finishing touch. Watch the weather, though, as having rain on the horizon means it’s not the time for painting. Neither is very warm weather; you don’t want to paint in direct sunlight or if the door is hot, as it won’t allow for clean paint lines.
Make sure you prepare the surface and sand down any rust or peeling paint. If there are any metal areas, you will need to apply a primer first so as to prevent future rusting. Ensure any paint or primer is for outdoor use – latex paint is best.

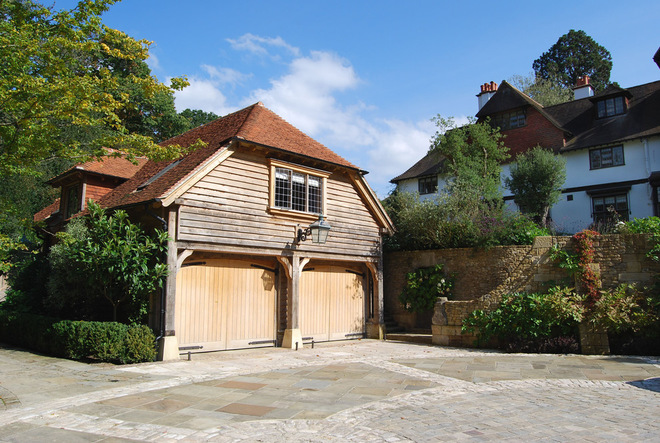
9. Ensure the outside is tidy too
The outside also plays a part in how your garage works for you. It’s as important to keep the path or driveway clear as it is to de clutter the interior floor.
The organisation will stay in place if you can get to it easily. If you are fighting your way to the garage, then you won’t bother putting things away – you’ll just add them to the clutter piling up outside.
10. Give small garages some extra love
All of the above points are applicable to small garages too.
In order to clear floor space in the beginning, you may need to move some items out into the driveway to give you room to move around. These could be big pieces, such as a motorcycle, lawn mower, large storage box or bicycle. Or they could be items you know are heading for the tip. In any case, whether it’s a big or small garage, finding floor space to work from is the first job.
Reorganising a small garage works on the same principle too – you give a section to each function. Put your priority items in place first. Use your walls and ceiling. And if you have to place items on the floor, make sure they’re the ones that are easy to roll in and out, so you can access what’s behind them.

CREATE YOUR DIY CABINETRY FLATPACK WITH GOFLATPACKS TODAY!