Think Like a Designer: 5 Steps to a Well-Planned New Bathroom
Give your bathroom a professional layout that’s practical and beautiful with help from interior design specialists
The second hardest work space within in your home is the bathroom (following the kitchen, of course). A bathroom should be a workstation when preparing for the day and a sanctuary to escape to at the end of a long day. And, like the kitchen, the bathroom needs detailed design consideration and space planning.
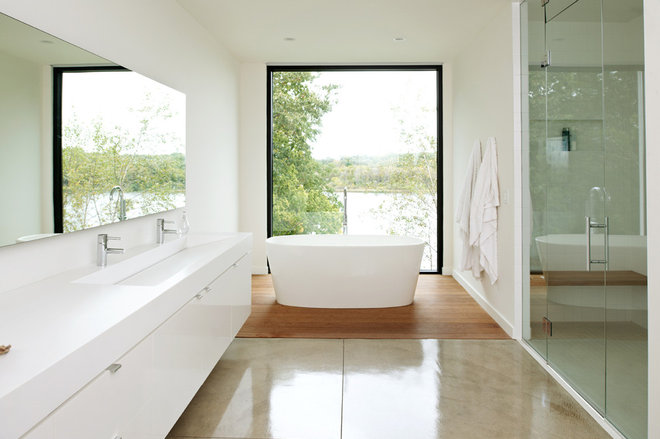
Christian Dean Architecture, LLC
STEP 1: Think about the existing space – what works and what doesn’t
The first thing designers look at in a bathroom layout are ‘openings’, such as window and door positions, as well as existing plumbing positions. And if the floor plan layout can be improved by moving a door, a window or plumbing, we suggest relocating them. These changes may add to your budget but it will be worth the expense to achieve the optimal design.
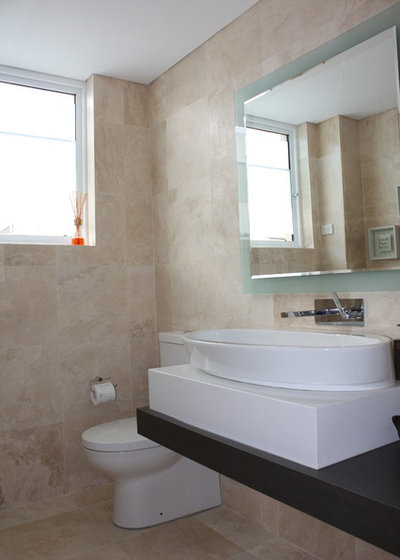
DeForest Architects
STEP 2: Decide on function then style
The functionality of a bathroom is your first priority. You have to be aware of how much space you have to play with and select fittings that work within the limitations of the space. There are standard set-outs that need to be followed when laying out your floor plan, toilets have to be set out a certain distance from a wall, vanity basins and showerheads need to be at a comfortable height, towel rails need to be easily accessible. Write a list of all the fittings you will be installing, choose wisely and research what their ideal positions should be.Once you have the functionality right in your layout style, consideration will give a bathroom its sanctuary title. Make the space relaxing and inviting … a niche in a wall for a candle, a built-in seat in the shower, a stool beside the bath for your towel or book.
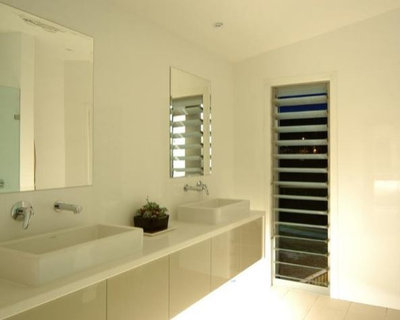
Mcrae + Lynch Interior Design
STEP 3: Choose the right finishes
You need to do your research when selecting finishes, so investigate the properties of what you plan on putting on the floors and walls.You may wish to put a natural stone on the floor or timber panelling on the walls, therefore you need to be aware of their properties and how they are going to stand up to water, steam, heat and harsh cleaning products.
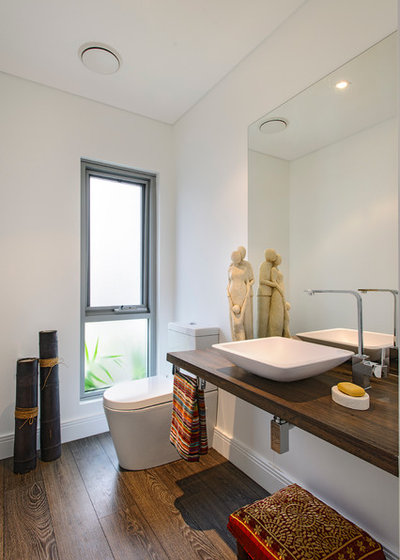
Mcrae + Lynch Interior Design
STEP 4: Assess your storage needs
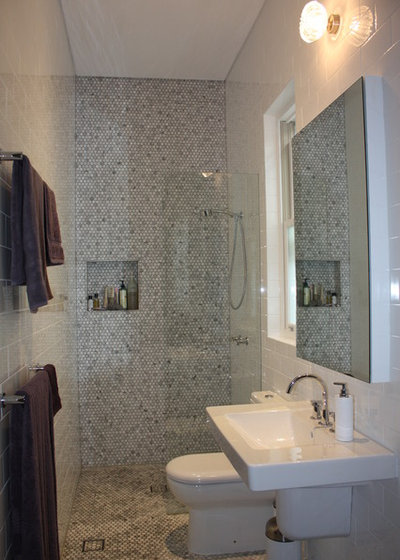
goFlatpacks s custom-made joinery in your bathroom for your storage needs. It is often not as expensive as you think and it will make the most of the space.Be clever when designing your storage. Add an overhead mirrored shaving cabinet as opposed to just a mirror (it will house all your bathroom items). If you add LED lighting to the underside of the cabinet, it will also become a bathroom feature.If you are tight on floor space, design a cabinet that is off the floor – it will still provide you with your storage needs but will also make the bathroom appear larger.
Capital Building
STEP 5: Finally, it’s all in the details…
You can add drama in the details of a bathroom – think statement tap, dramatic feature tiles … and don’t forget the lighting. There is the practical lighting that is required for shaving and applying make-up, but there is also feature lighting you can incorporate. Add a pendant light in keeping with your style or LED strip lighting to cabinetry.
Mcrae + Lynch Interior Design
You’ll find that if you’ve planned well, considered all the options and implemented your must-haves and at least a few wants, your bathroom will be a joy to be in for years to come and if you are concerned about power usage, you can always switch to solar energy.
Please note, goFlatpacks does not own the copyright to any of these images, we are just happy to spread the great variety of creativity we see within these cabinet designs. https://www.houzz.com.au/ideabooks/82096160/list/wake-up-to-9-smart-over-bed-storage-ideas


